

After testing completely different variations of the BetaFPV Pavo20 Professional—together with the DJI O3, NightFire version, and now the DJI O4 Professional—I can confidently say: they’re just about the identical. However should you’re questioning which model to decide on or how the O4 improve modifications issues, right here’s all the things I’ve discovered.


New to FPV? Begin with our Cinewhoop Purchaser’s Information: https://oscarliang.com/cinewhoop/
The place to Purchase
You may get the Pavo20 Professional O4 version from the next distributors:

Included Equipment:
- 1 × LED Strip Accent Package (Ice Blue)
- 4 × Spare Propellers
- 1 × USB-C Adapter Cable
- 1 × Spare DJI O4 Professional Air Unit 6-pin Cable
Notice that battery will not be included, get some Lava 3S 550mAh LiPo right here: https://oscarliang.com/product-vrfd
Get some spare 2.2inch propellers right here: https://oscarliang.com/product-8nfq
Specs
If you happen to’re conversant in the earlier Pavo20 Professional with O3, the brand new O4 Professional model is actually equivalent by way of core {hardware}:
| Pavo20 Professional (O3 PNP) | Pavo20 Professional (O4 Professional PNP) | |
| Wheelbase | 93.7mm | |
| Battery Connector | XT30 | |
| Battery Slot | 20mm width, limitless peak | |
| FC | F4 2-3S 20A AIO FC V1 | |
| Body | Pavo20 Professional Brushless Body | |
| Motor | LAVA Collection 1104 7200KV Brushless Motors | |
| Props | Gemfan 2218 3-Blade Propellers (1.5mm Shaft, 2.2″ triblade) | |
| Flight Time | 6:40 with 3S 550mAh LiHV | |
| Digital camera Filter Set up | Vertical | |
| RX Model | ELRS, TBS, SBUS | ELRS, SBUS |
| HD VTX Bracket | O3 Air Unit Bracket | O4 Air Unit Professional Bracket |
| Weight | 108g (with O3) | 107g (with O4 Professional) |
| Supported VTX | DJI O3 Air Unit/ Caddx Vista Package / RunCam Hyperlink (with O3 Air Unit Bracket) | DJI O4 Air Unit Professional (with O4 Air Unit Professional Bracket) |
| Really useful Battery | 3S 450mAh, 550mAh, 650mAh LiPo/LiHV | |

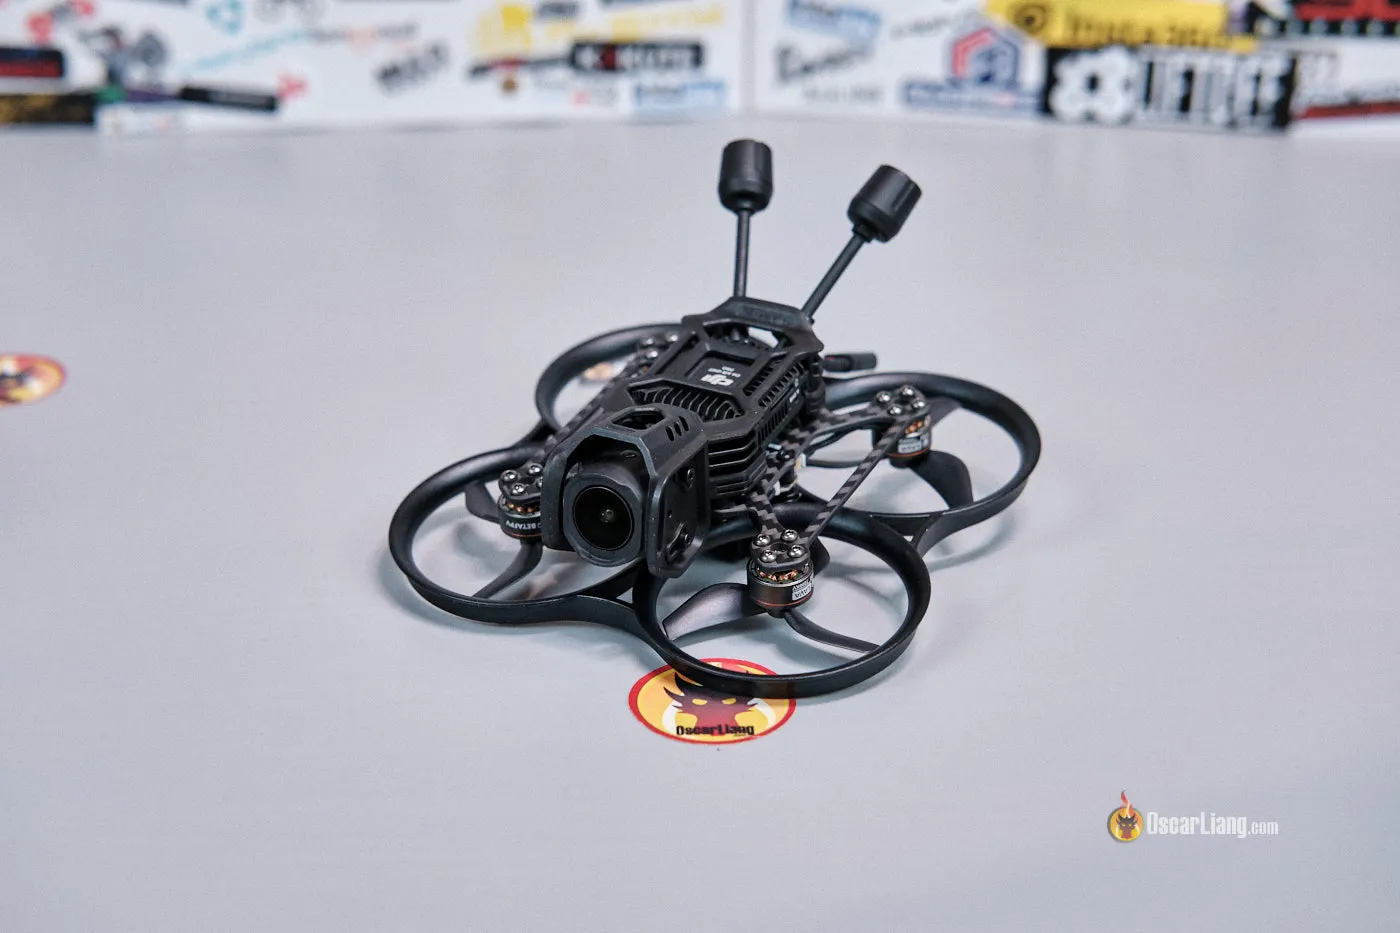
Design and Construct: O4 vs O3 vs NightFire
Let’s get this out of the way in which: the pusher-style body, motors, flight controller, and props are all the identical throughout all these variations of the Pavo20 Professional.
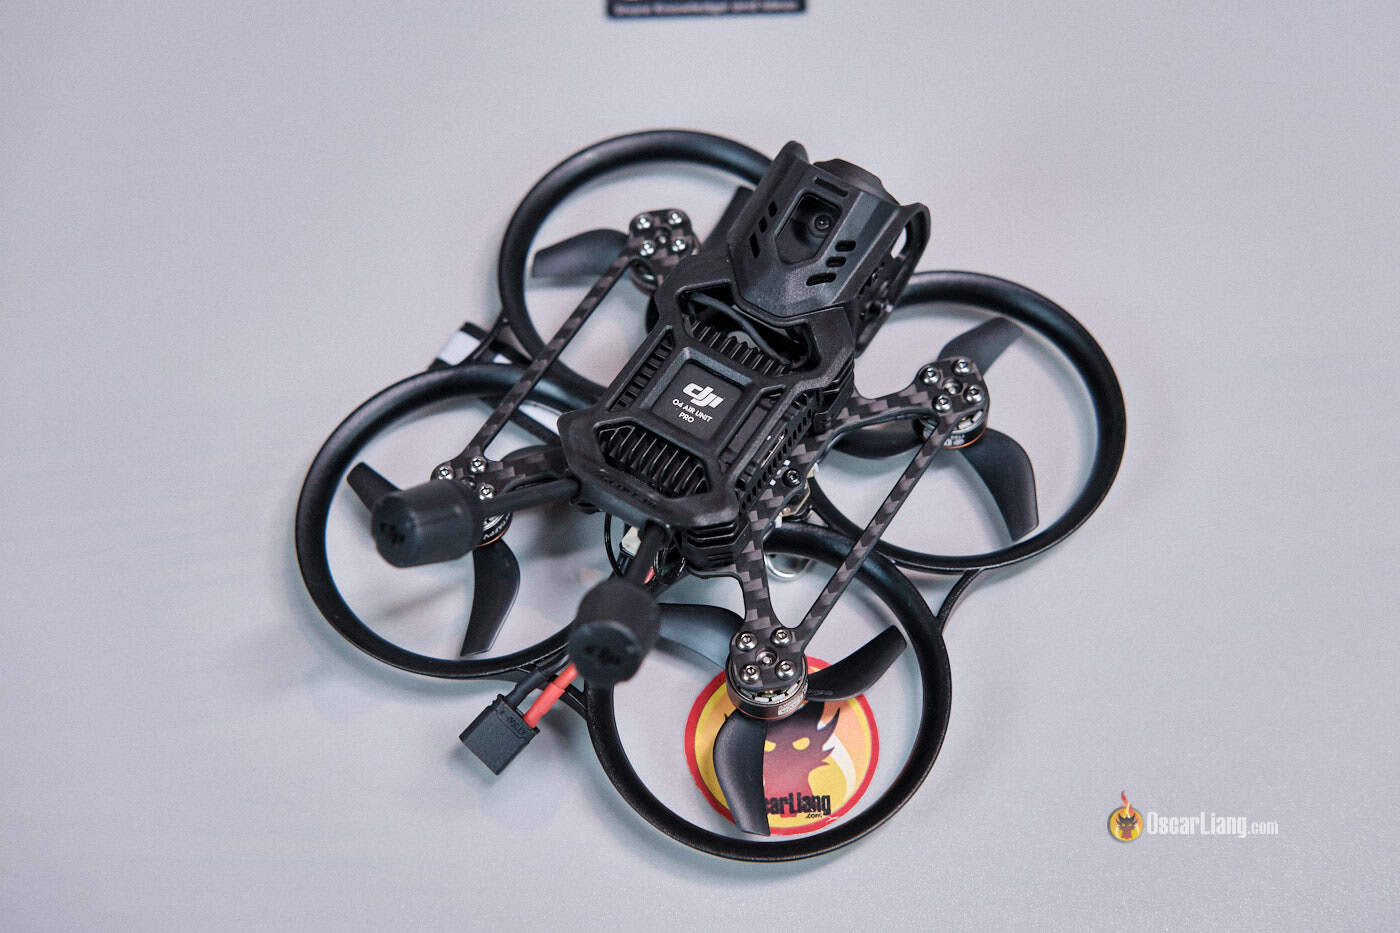
The primary distinction is the brand new digicam cage, designed particularly for the DJI O4 Professional Air Unit. It’s a glossy, injection-molded mount that provides higher antenna routing, and total aesthetics. In comparison with the O3’s mount, the O4 cage appears cleaner and feels extra refined.

Surprisingly, the O4 model is barely lighter than the O3, regardless of utilizing the inventory DJI O4 antennas. It’s because the O4 Air Unit is lighter than the O3, although the burden distinction is minimal and doesn’t noticeably have an effect on flight efficiency.
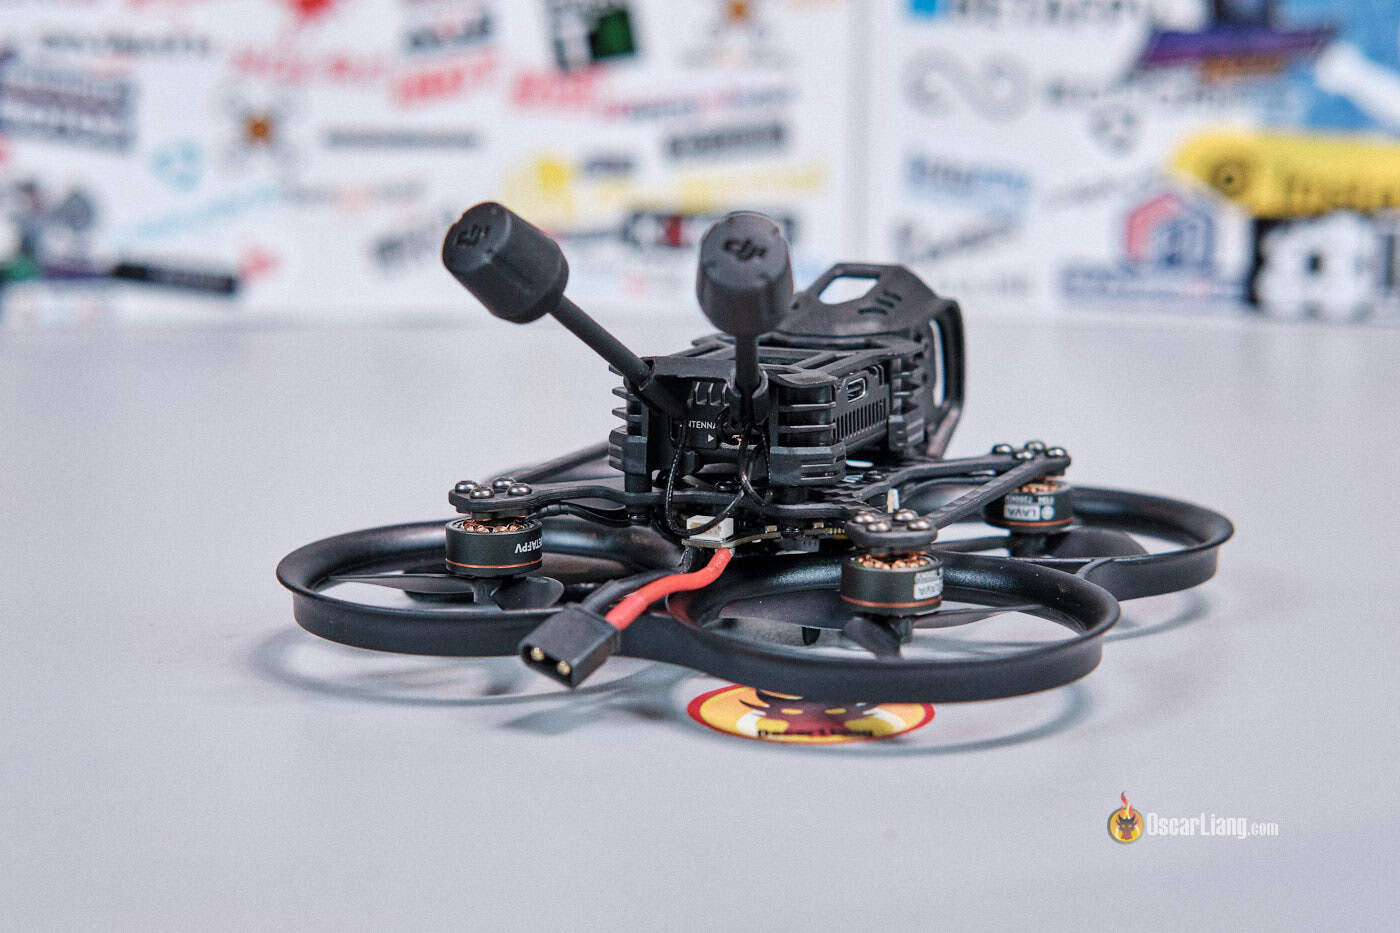
Utilizing Unique O4 Professional Antennas
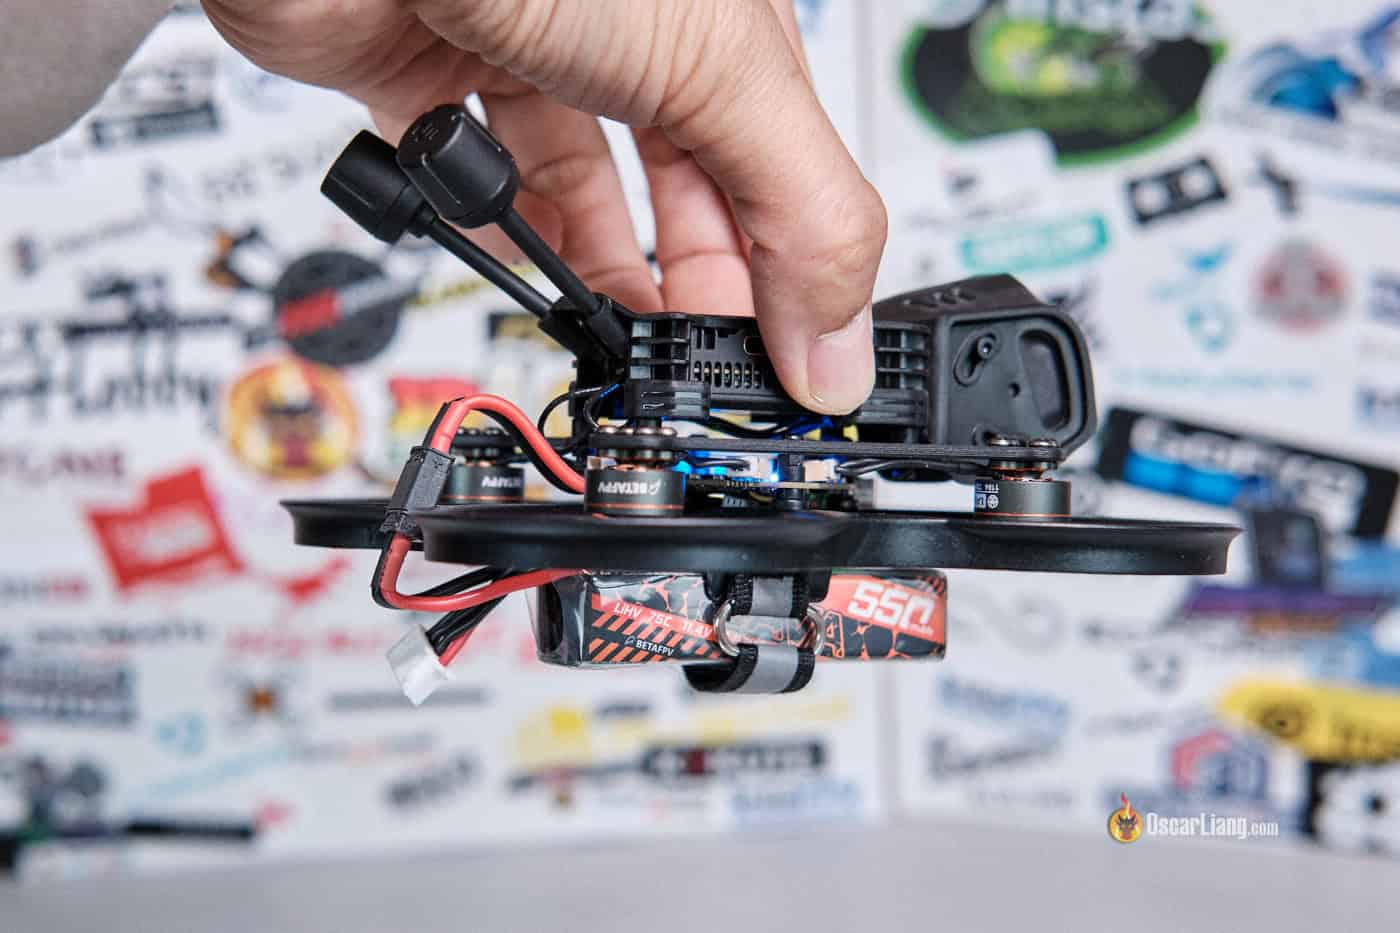
One small gripe: I want BetaFPV included shorter dipole antennas, like they did with the O3 model. They’re not solely lighter, but additionally extra sturdy in crashes. The inventory O4 antennas are solely press-fitted into the mount, that means they’ll simply come out throughout a crash and presumably harm the delicate U.FL connectors and wire.
If you happen to’re involved about sturdiness:
- Think about gluing the antennas into place.
- Or higher but, swap them for dipoles to save lots of ~4g and scale back threat.
Sure, you might argue that the inventory antennas supply higher vary—however the actual limiting issue right here is the ELRS receiver antenna that’s buried underneath the FC, not the video system. And because the Pavo20 Professional lacks GPS, you don’t actually wish to fly it far anyway. For that reason, dipoles ought to be wonderful.
Discipline of View and Prop Guard
You would possibly discover the prop guard showing within the backside corners of your goggles. That is as a result of extremely large area of view (FOV) of the O4 Professional digicam, particularly when you find yourself in 4:3 mode. Nevertheless, when you run the footage by way of Gyroflow for stabilization, these prop guards often get cropped out, so it’s not a significant concern.
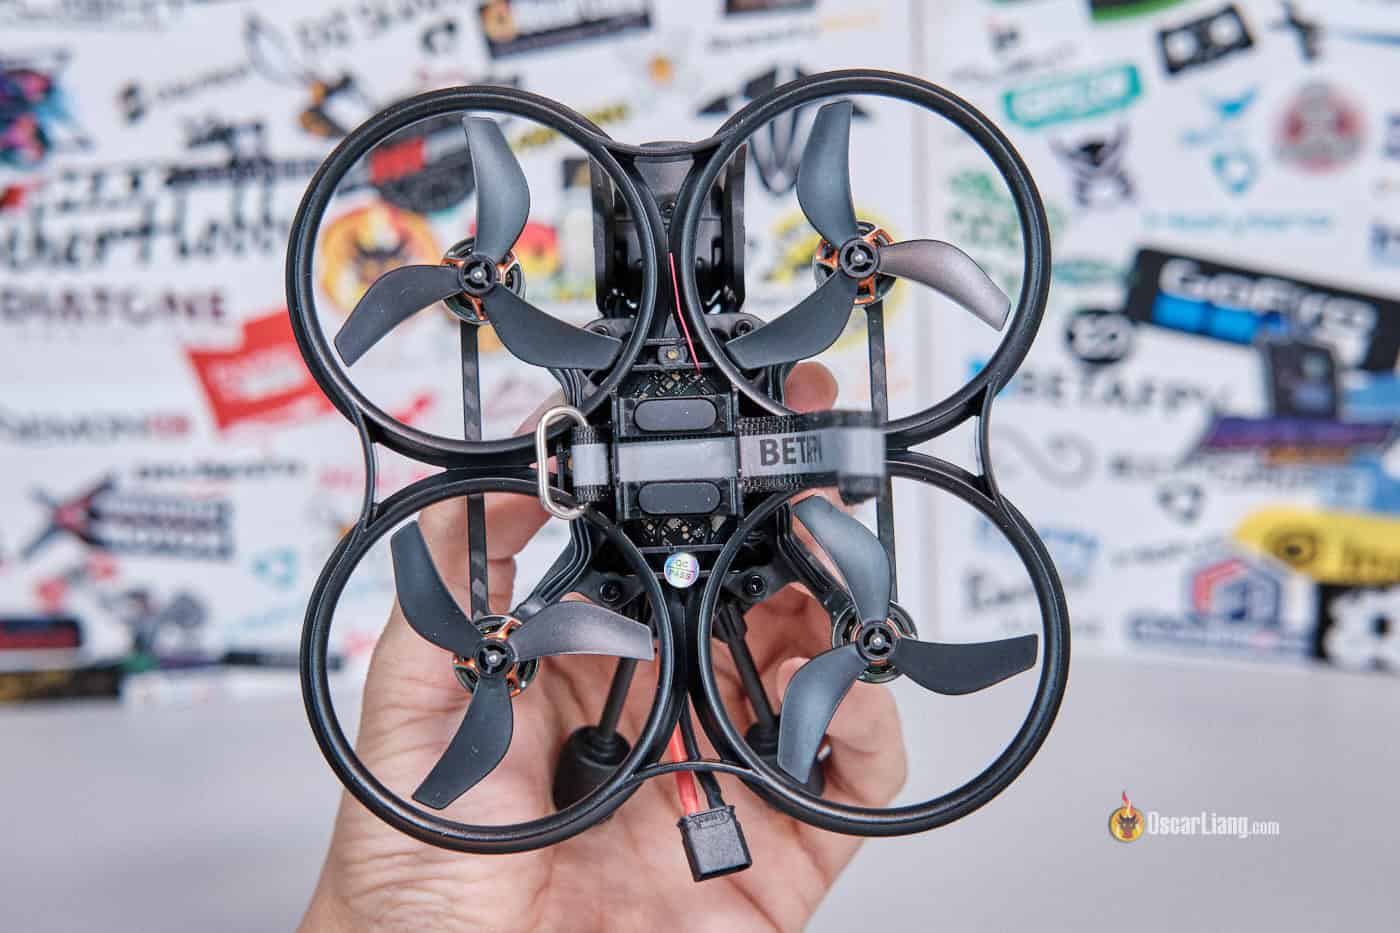
Battery Mounting and Payload
The drone makes use of a typical battery strap, providing you with flexibility to make use of numerous 3S LiPo sizes, together with 3S 450mAh, 550mAh and 650mAh. With a 3S 550mAh, the overall AUW (All-Up Weight) is available in round 150g.
Notice: the Pavo20 Professional will not be designed to hold a GoPro or full-size HD digicam. If you happen to actually wish to add an exterior HD cam (e.g., Insta360 GO or Bare GoPro), you’ll have to 3D print your individual mount—and maintain it gentle. Extra weight will rapidly have an effect on each flight efficiency and battery life.
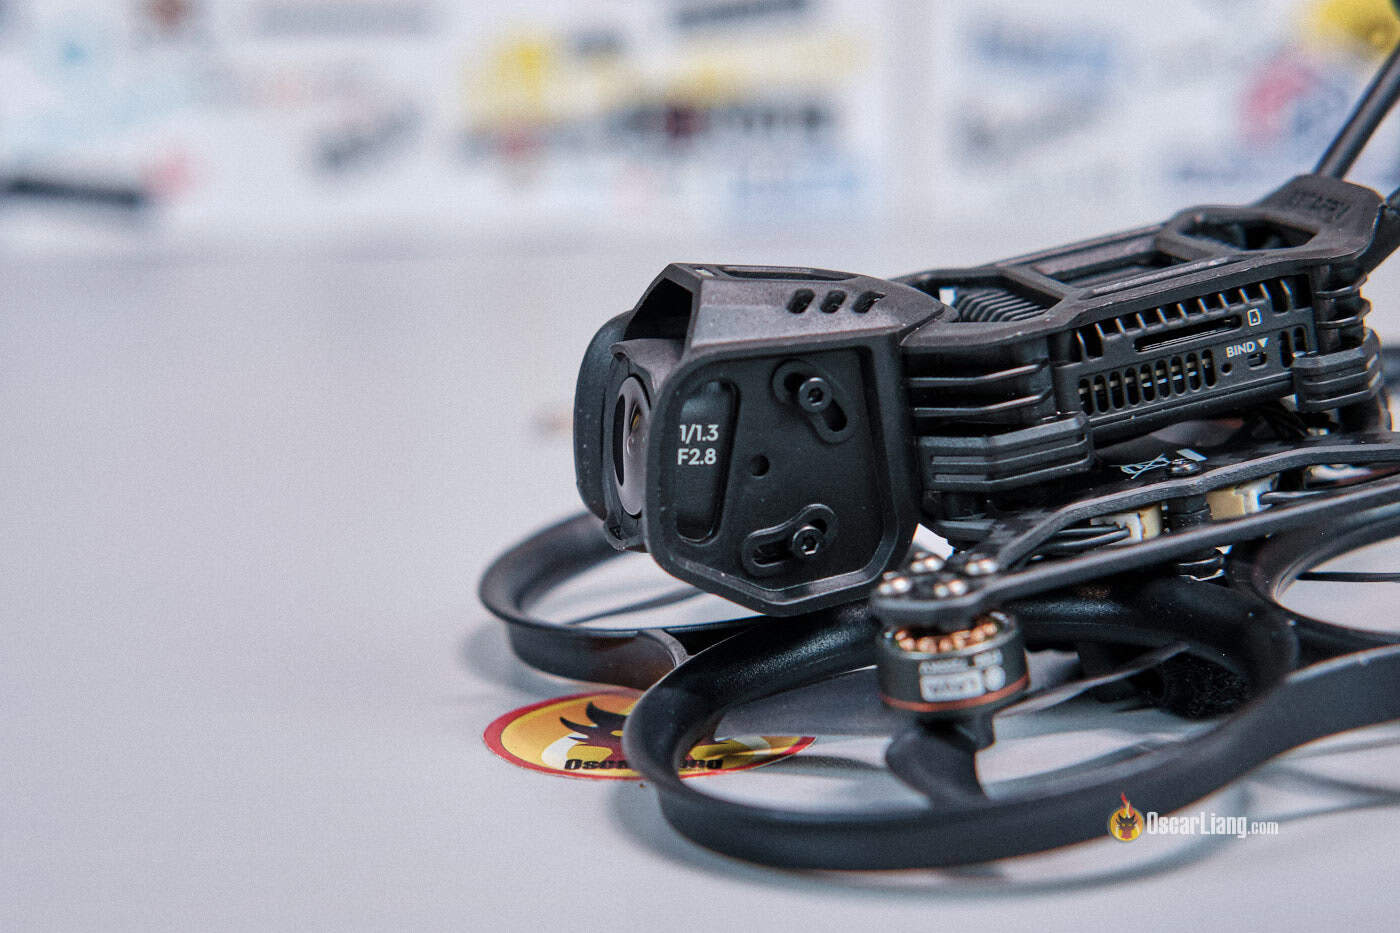
Accessibility and Maintanence
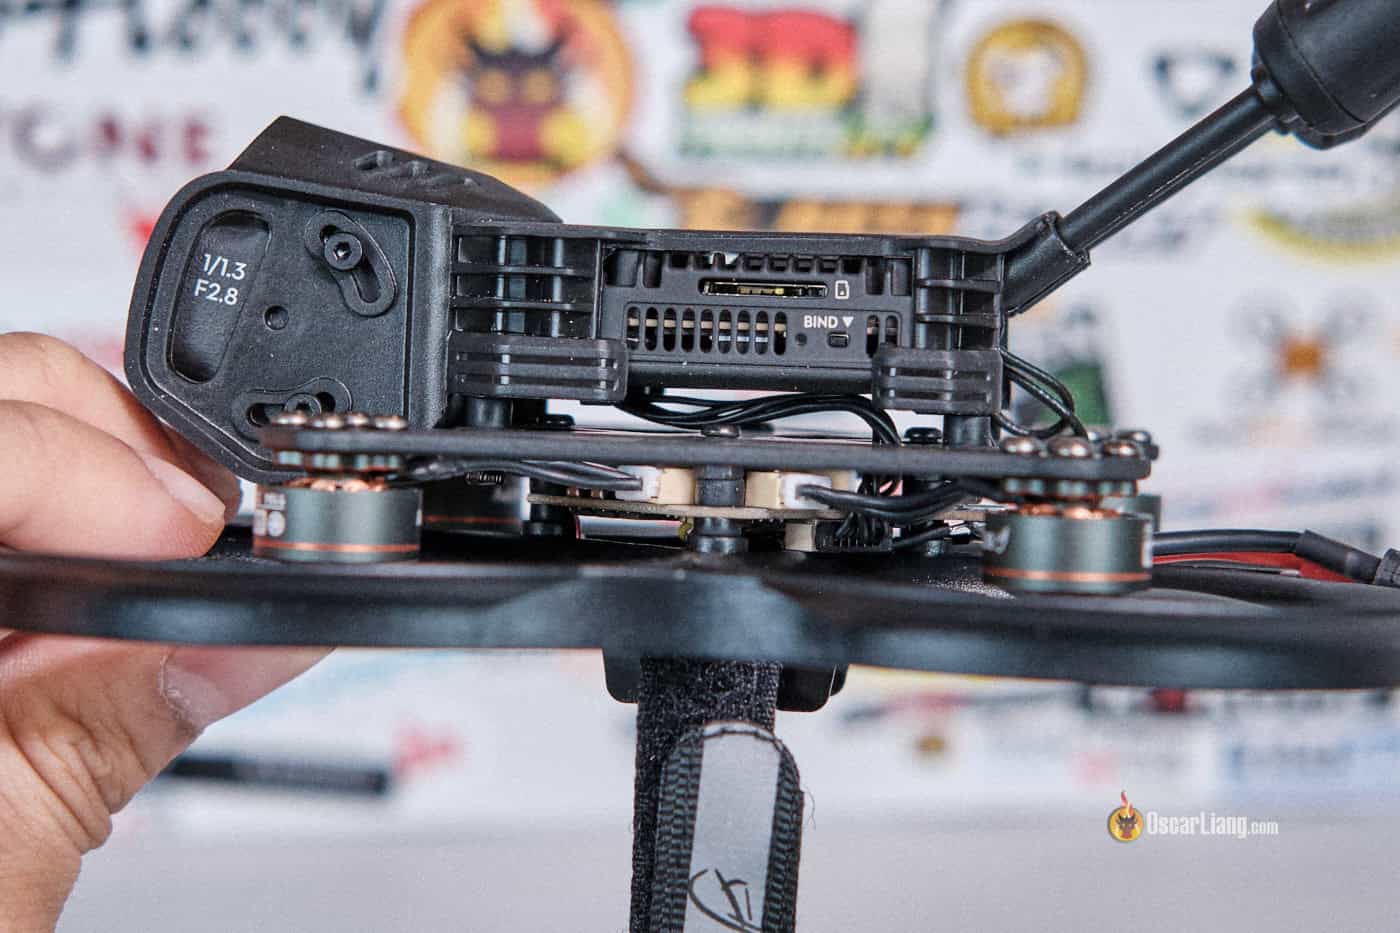
Accessing the DJI O4 Professional’s SD card and USB port is straightforward, due to the good design of the body and digicam cage.
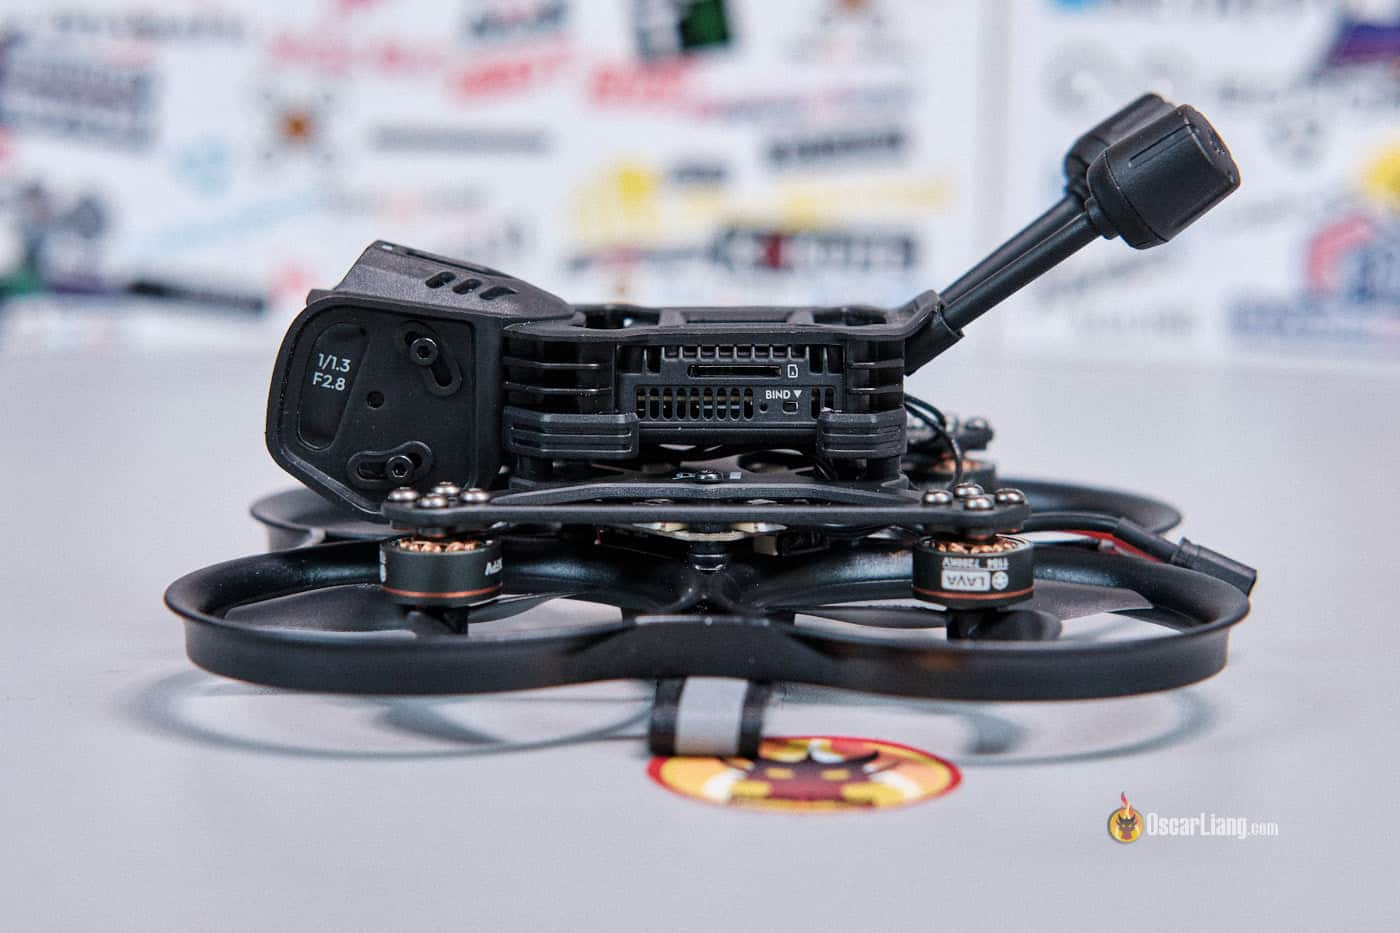

To avoid wasting weight, BetaFPV changed the usual USB-C port on the flight controller with a smaller 4-pin JST connector. Which means you’ll want to make use of the included USB adapter when connecting to Betaflight—a small trade-off for a lighter construct.

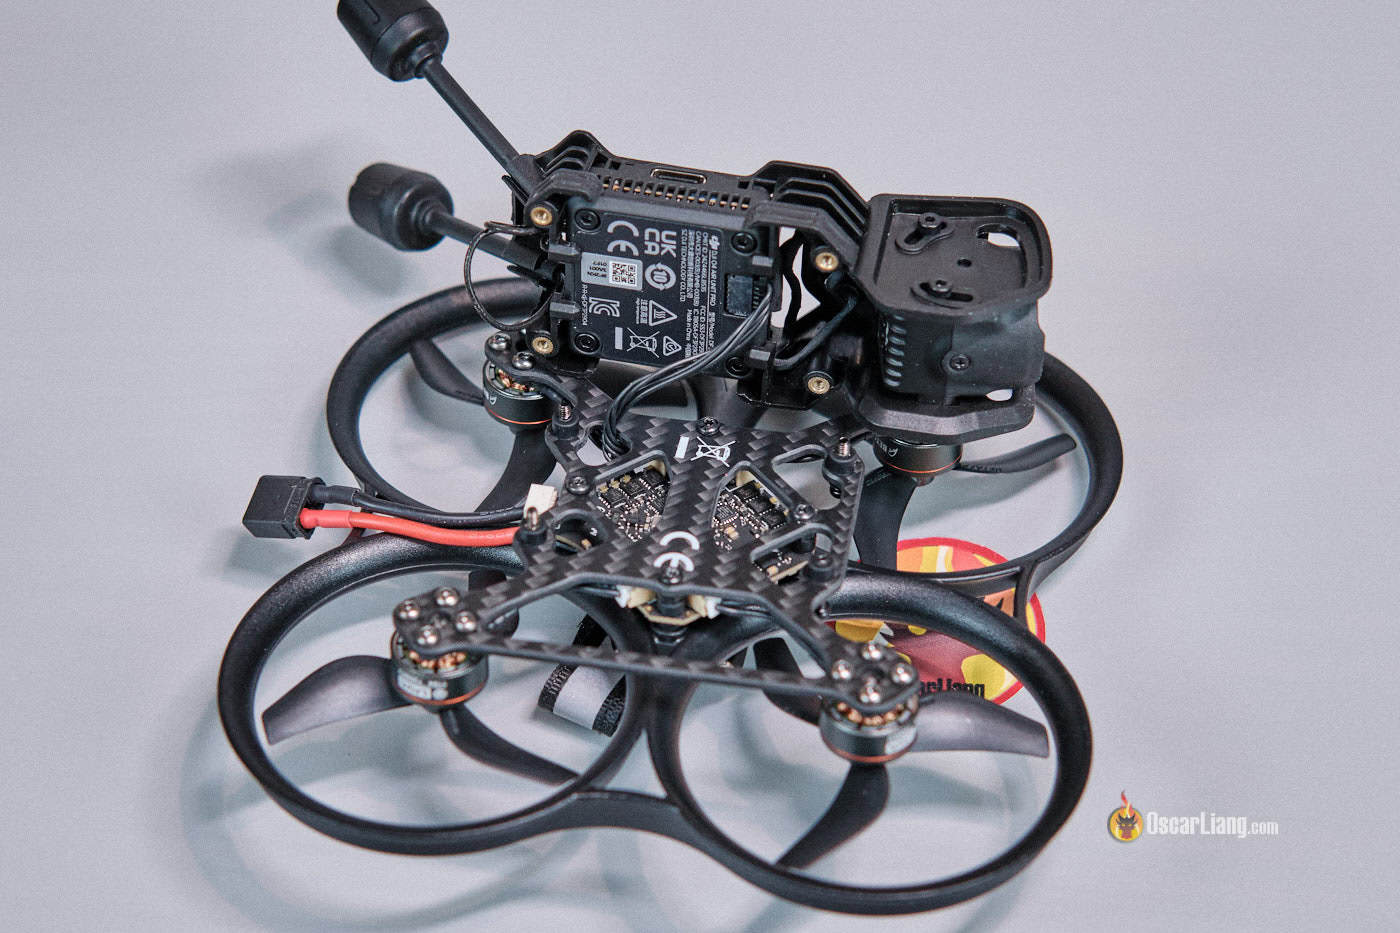
The drone’s development is actually easy. The digicam cage is mounted to the drone’s physique utilizing solely 4 bolts. It’s straightforward to assemble or take aside, which is useful for fast repairs. The mushy mounting for the digicam appears to do a very good job of eliminating jello.
Upgrading from DJI O3 to O4 Professional
Already flying the Pavo20 Professional with DJI O3 and eager about upgrading?
Excellent news: You solely have to buy the brand new digicam cage designed for the O4 Professional. No want to purchase a complete new drone! The O4 mounts with the identical four-screw configuration, and the adjustable digicam tilt permits you to fly with near-zero angle for cinematic-style photographs.
This makes the Pavo20 Professional platform extra modular, and an awesome long-term funding.
Flight Efficiency
By way of flight traits, the Pavo20 Professional with DJI O4 Professional flies nearly identically to the O3 and NightFire editions. Similar energy, responsiveness, dealing with, and management authority.
I examined it in reasonable wind as effectively (10–12 mph) and was impressed by how effectively it dealt with. No noticeable jello even when flying aggressively, and it provides clean management for each informal cruising and precision cinematic actions.
Let’s be life like, although—this isn’t a freestyle drone. It doesn’t have the ability or punch of an open-prop quad. However for low-speed, close-proximity cinematic flying, it’s perfect. The built-in prop safety additionally makes it safer to make use of round individuals or in tight areas.
I get about 5 to six minutes of flight time on a 3S 550mAh LiHV battery, about 4 to five minutes on 450mAh and simply over 6 minutes on 650mah. Nevertheless, larger battery doesn’t appear to supply vital longer flight time however makes it fly worse – 720mAh could be the most important pack I might use with the Pavo20 Professional.
The Pavo20 Professional isn’t notably loud by cinewhoop requirements as a result of its comparatively small measurement, nevertheless it’s nonetheless noisy sufficient that I wouldn’t advocate flying it indoors—until, in fact, you’re in search of a divorce 😀 In order for you one thing appropriate for indoor flying, you must stick to 1S tiny whoops. Try my prime suggestions right here: https://oscarliang.com/best-tiny-whoop/#Greatest-75mm-Tiny-Whoops
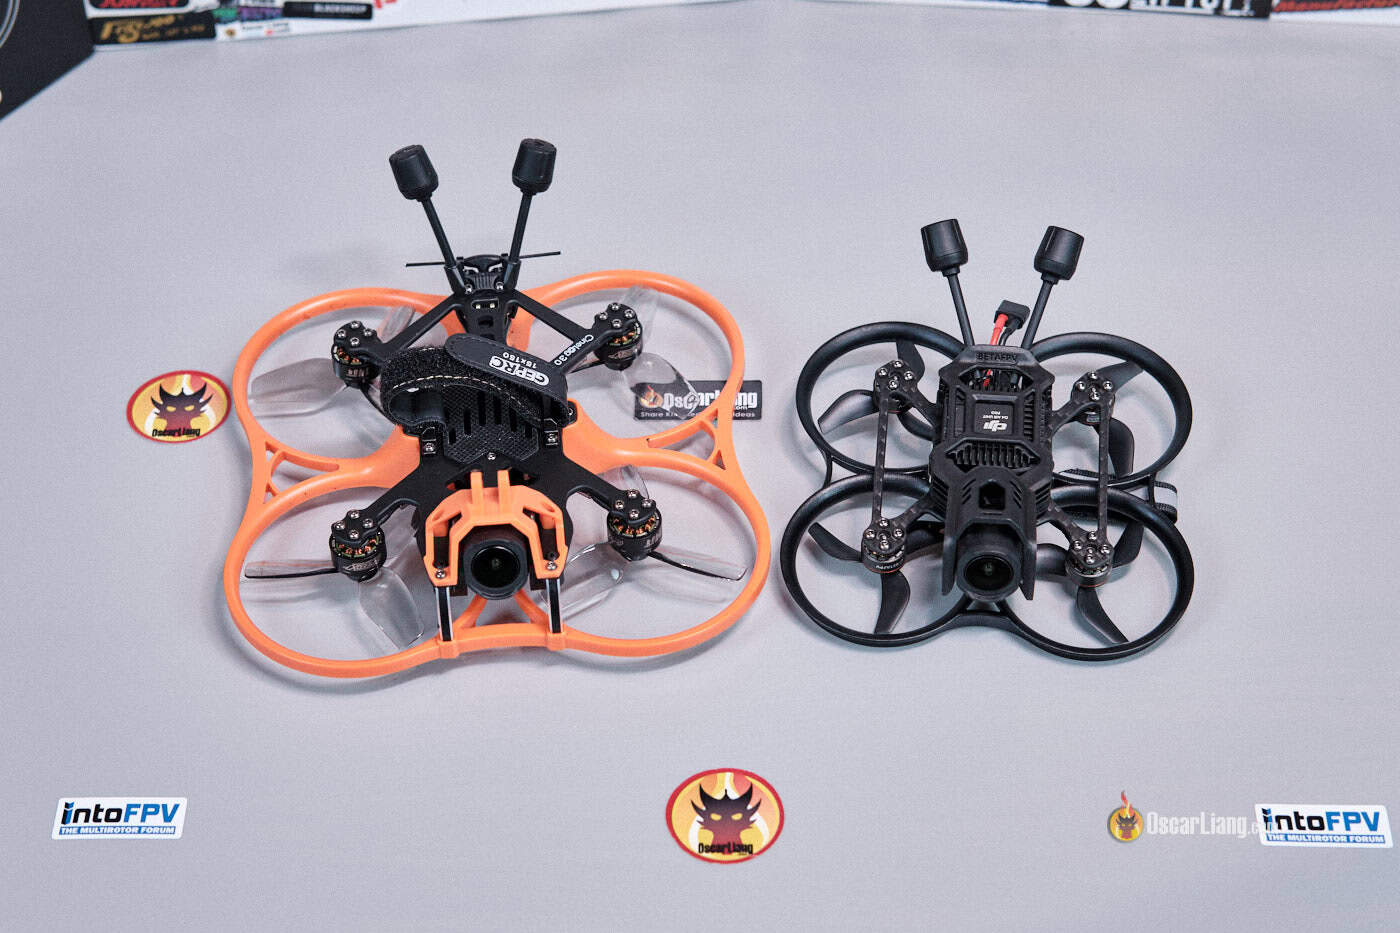
Pavo20 Professional vs GEPRC Cinelog30 V3
In comparison with the GEPRC Cinelog30 V3 I not too long ago reviewed, the Pavo20 Professional is:
- Smaller, making it extra appropriate for flying in tight areas.
- Lighter, however with much less energy and payload capability.
- Extra restricted in freestyle capability as a result of its compact measurement.
The Cinelog30 V3, then again:
- Extra environment friendly and provides longer flight time.
- Extra highly effective and might carry heavier payload (even full measurement GoPro).
- It’s subsequently extra versatile in numerous flying types.
Nevertheless, each drones use light-weight plastic prop guards in an effort to maintain the burden down, that means neither is constructed to resist laborious crashes. But when I used to be going to crash I might somewhat choose the Pavo20 as a result of it’s lighter the influence might be much less, and in contrast to the Cinelog, the digicam gained’t come out in crashes as a result of it’s laborious mounted which makes life simpler.
Setup
Earlier than the primary flight, I did the next:
- Put in the 2 O4 antennas within the antenna mount.
- Eliminated the protecting movie from the digicam lens.
- Plug in a smoke stopper, and join a battery and take a look at the drone and see if it powers up accurately. It is best to hear the ESC/motor initiation beeps.
- Personally I’d keep away from putting in the LED strip to save lots of weight.
Firmware
- The flight controller (FC) board goal is BETAFPVF405, and it comes preloaded with Betaflight firmware model 4.5.0. For inventory CLI Diff, see right here.
- ESC Firmware: Bluejay, 0.19 (C-X-70)
- ELRS Receiver Firmware Goal: Generic ESP8285 2.4GHz RX, firmware 3.3.0
Betaflight Setup
Remaining Ideas: Is It Value It?
If you happen to’re in search of the smallest cinewhoop with DJI O4 Professional help, the Pavo20 Professional is my prime suggestion.
You may get the Pavo20 Professional O4 version from the next distributors:
The design is strong because it has confirmed beforehand with the DJI O3. It carries the full-size O4 Air Unit with out feeling underpowered, and its small footprint makes it perfect for each indoor and tight out of doors environments. It’s not constructed for aggressive freestyle or crashing—however for clean, cinematic flights, it performs admirably.
If you have already got the O3 model, there’s not an enormous cause to improve until you need the higher digicam efficiency of the O4 Professional. However should you’re deciding between the 2, go together with the O4 Professional model. It’s simply higher throughout.